AmazingMenzif

joined 1 year ago
[โ€“] AmazingMenzif@aussie.zone 8 points 4 months ago (1 children)

Mlem on iOS and Jerboa on Android are free without ads

[โ€“] AmazingMenzif@aussie.zone 1 points 1 year ago (2 children)

Others have mentioned Keychron and Ducky already but I just want to mention you can get the pudding keycaps separately for cheap off AliExpress.

[โ€“] AmazingMenzif@aussie.zone 1 points 1 year ago (1 children)

Looks great, where are the key caps from?

[โ€“] AmazingMenzif@aussie.zone 2 points 1 year ago (1 children)

Great colour scheme

[โ€“] AmazingMenzif@aussie.zone 1 points 1 year ago (1 children)

Yes and no. For a cable with just different connectors, the kb or host would need to understand how to convert to the right protocol, PS2/XT/etc. The voltages are the same though I think (5V).

Something like this would be needed https://github.com/No0ne/ps2pico


Updated from my temporary keychron caps. Turns out they were a good intermediary step in learning the 40% layout before going without legends on the keys.

Bought these from Temu. I'm guessing they're factory seconds as the dots are slightly misaligned (which I didn't put on the board) and the packaging was generic. Still, looks much better now and they feel fine.

Very nice. Where did you get the caps and switches? Did you design the board? Also, is it compatible with other controllers like pro micro?

I really like the wrist rest actually. What did you use for filling? Also did you need special needle and thread?

13
Cable build [Album] (aussie.zone)
submitted 1 year ago* (last edited 1 year ago) by AmazingMenzif@aussie.zone to c/mechanicalkeyboards@lemmy.ml
 

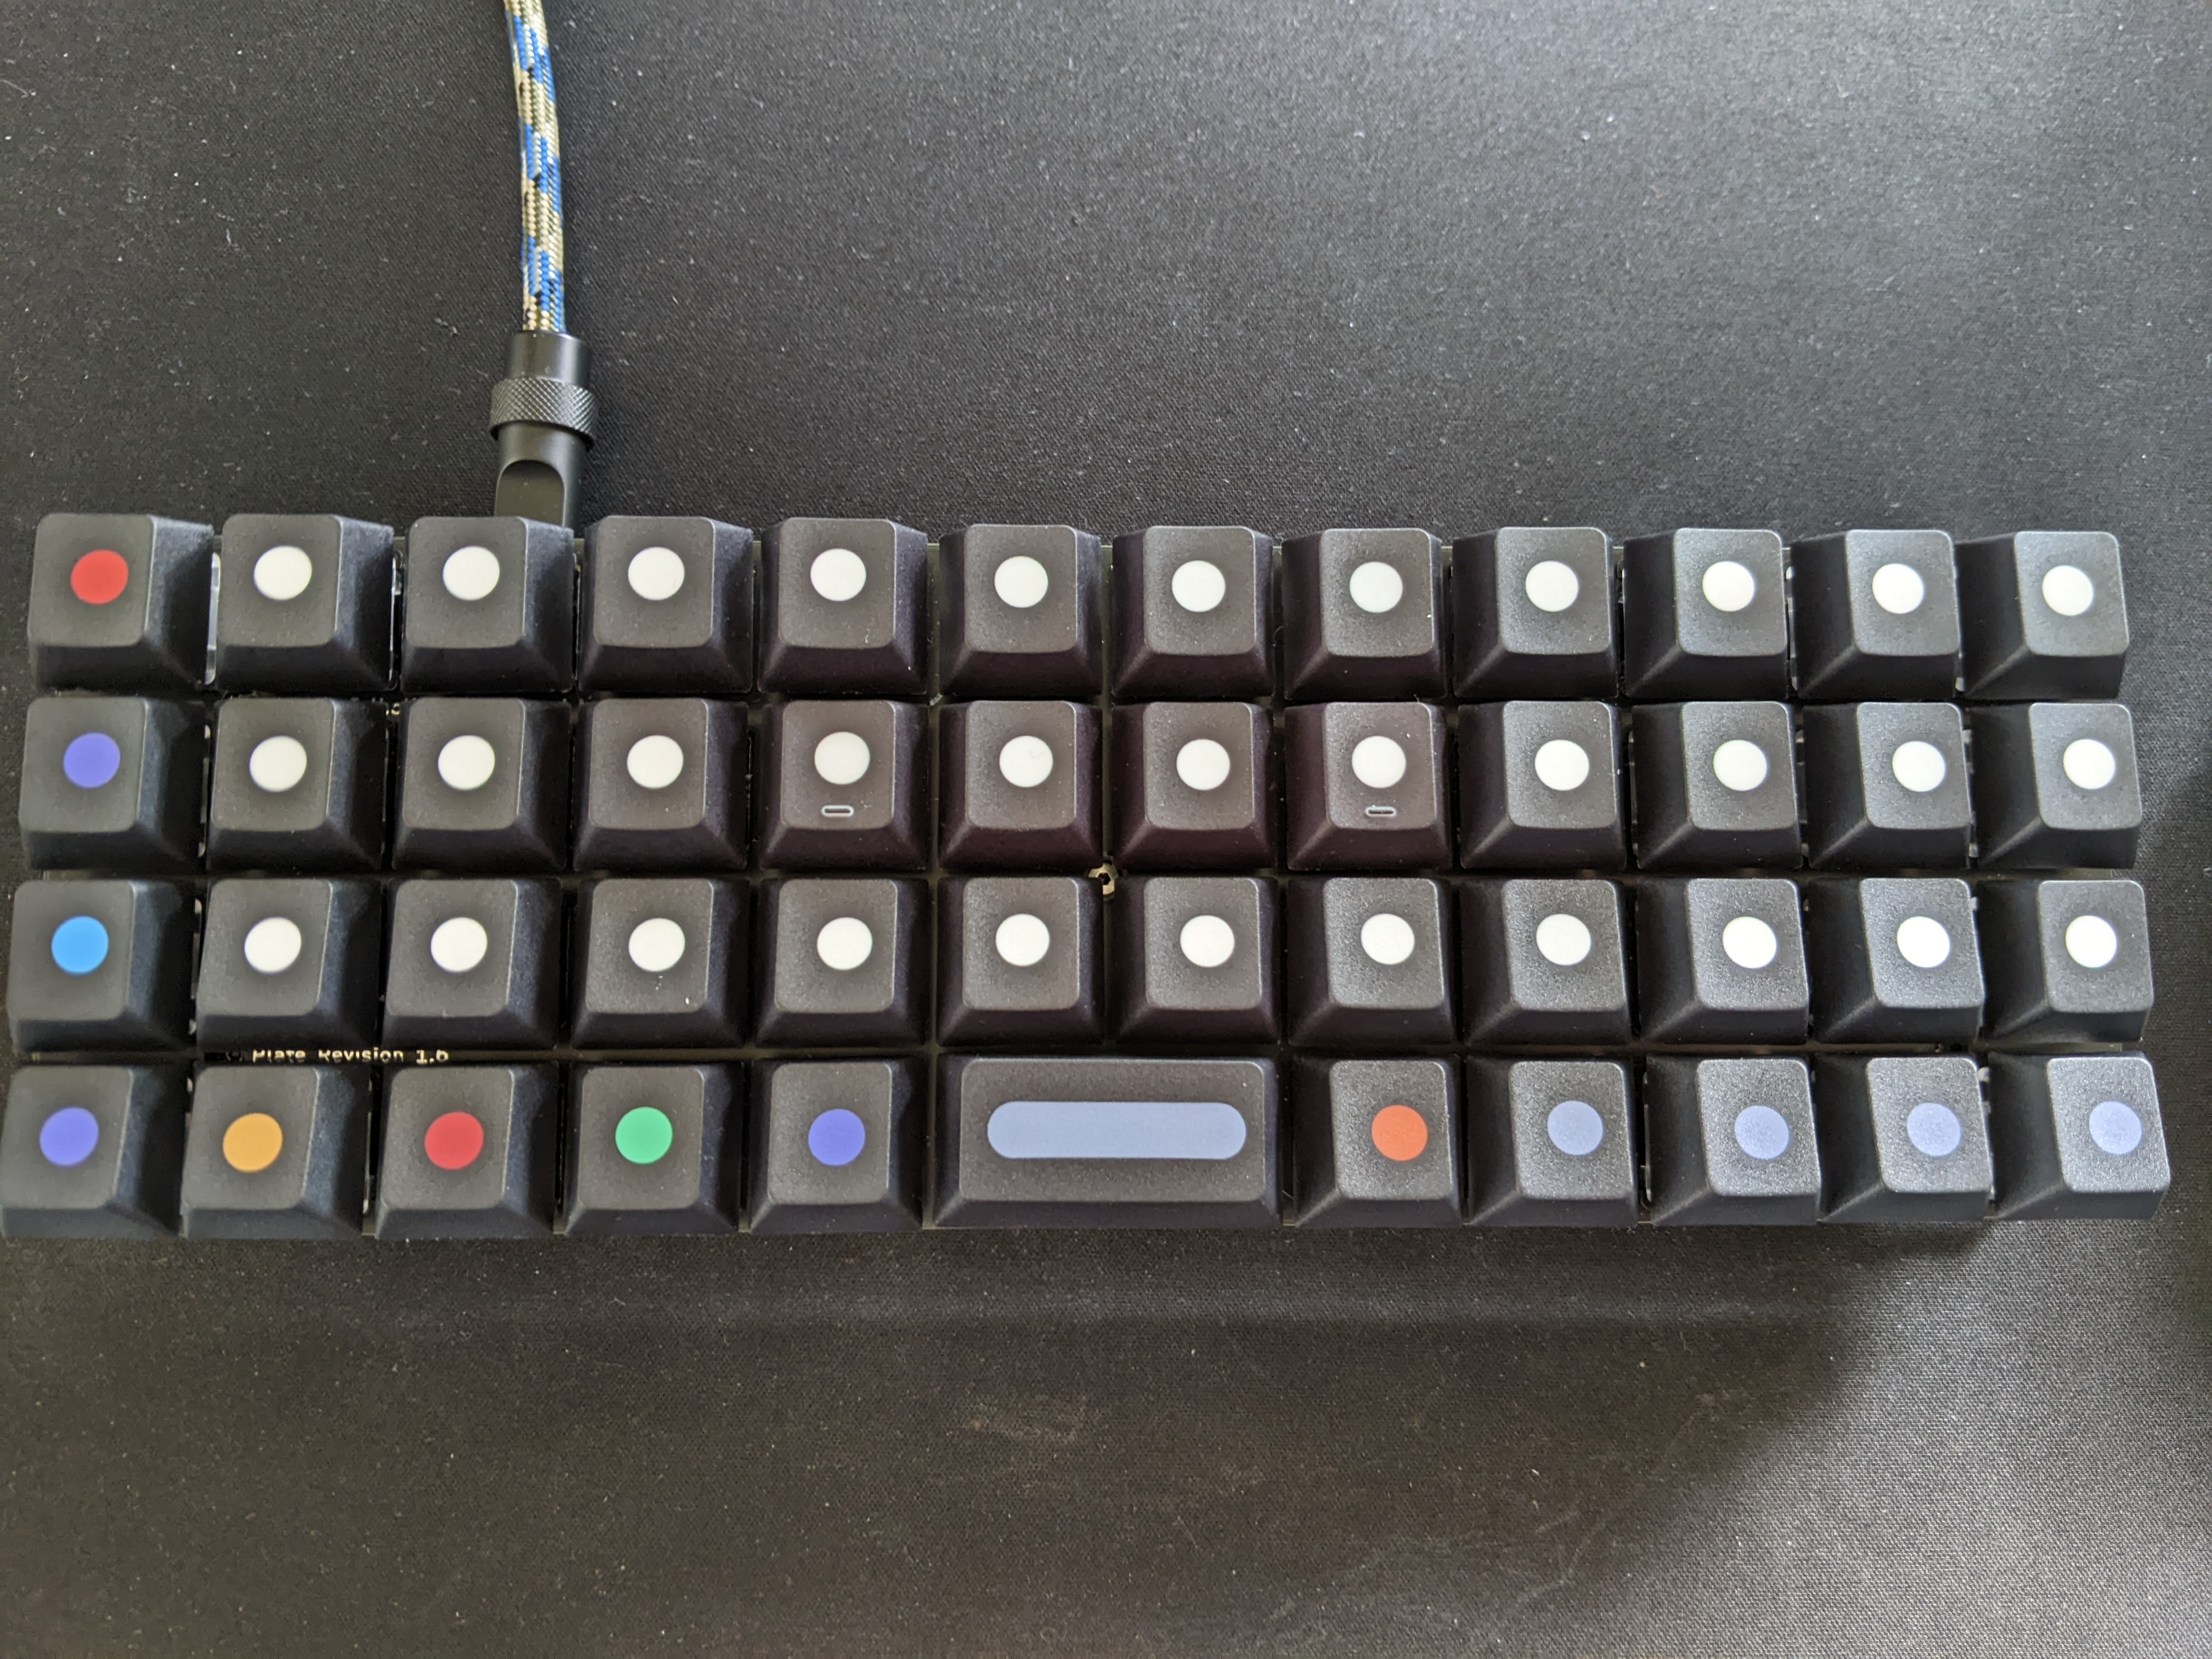
Sorry it's not an MK, but keyboard cables seem relevant still.

I needed a cable and I wasn't really happy with the options available to purchase for keyboard cables. Either the length was wrong, the price was too high, the shipping too high, the colour too weird, the USB ends not nice, etc. etc. so I figured I'd build my own.

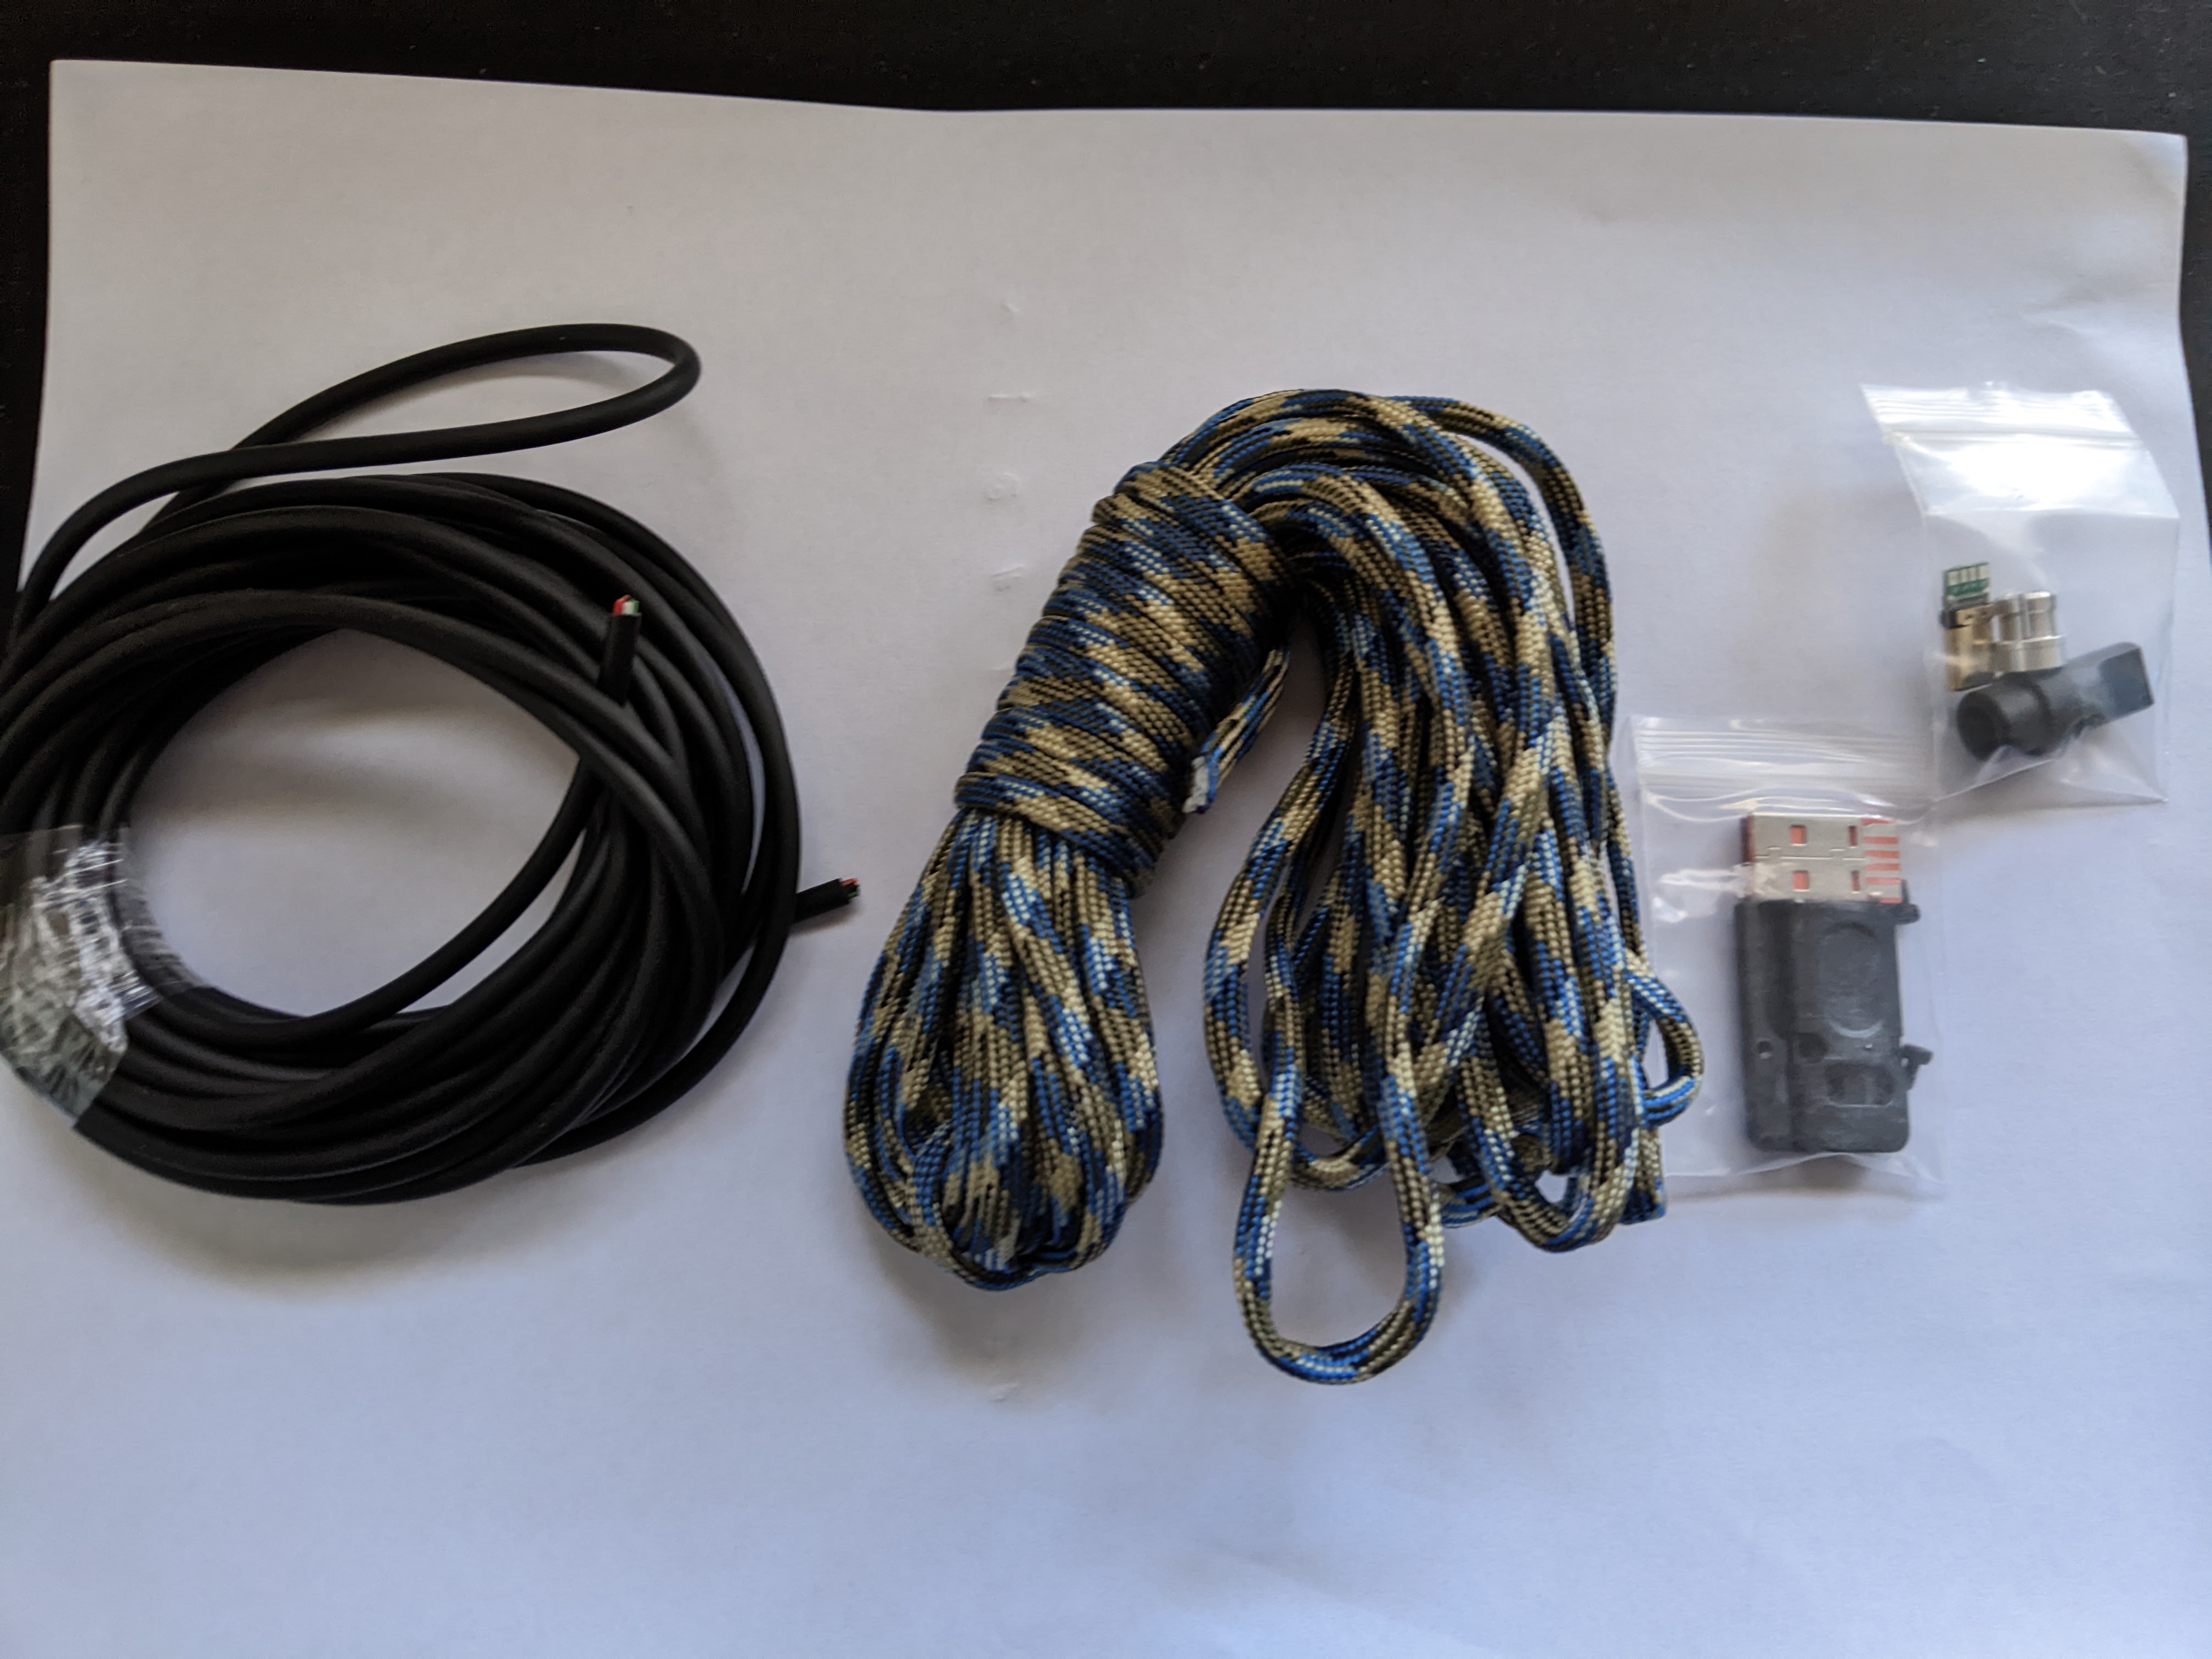
I got all the parts off AliExpress.

  • Paracord
  • USB connector with black metal shell
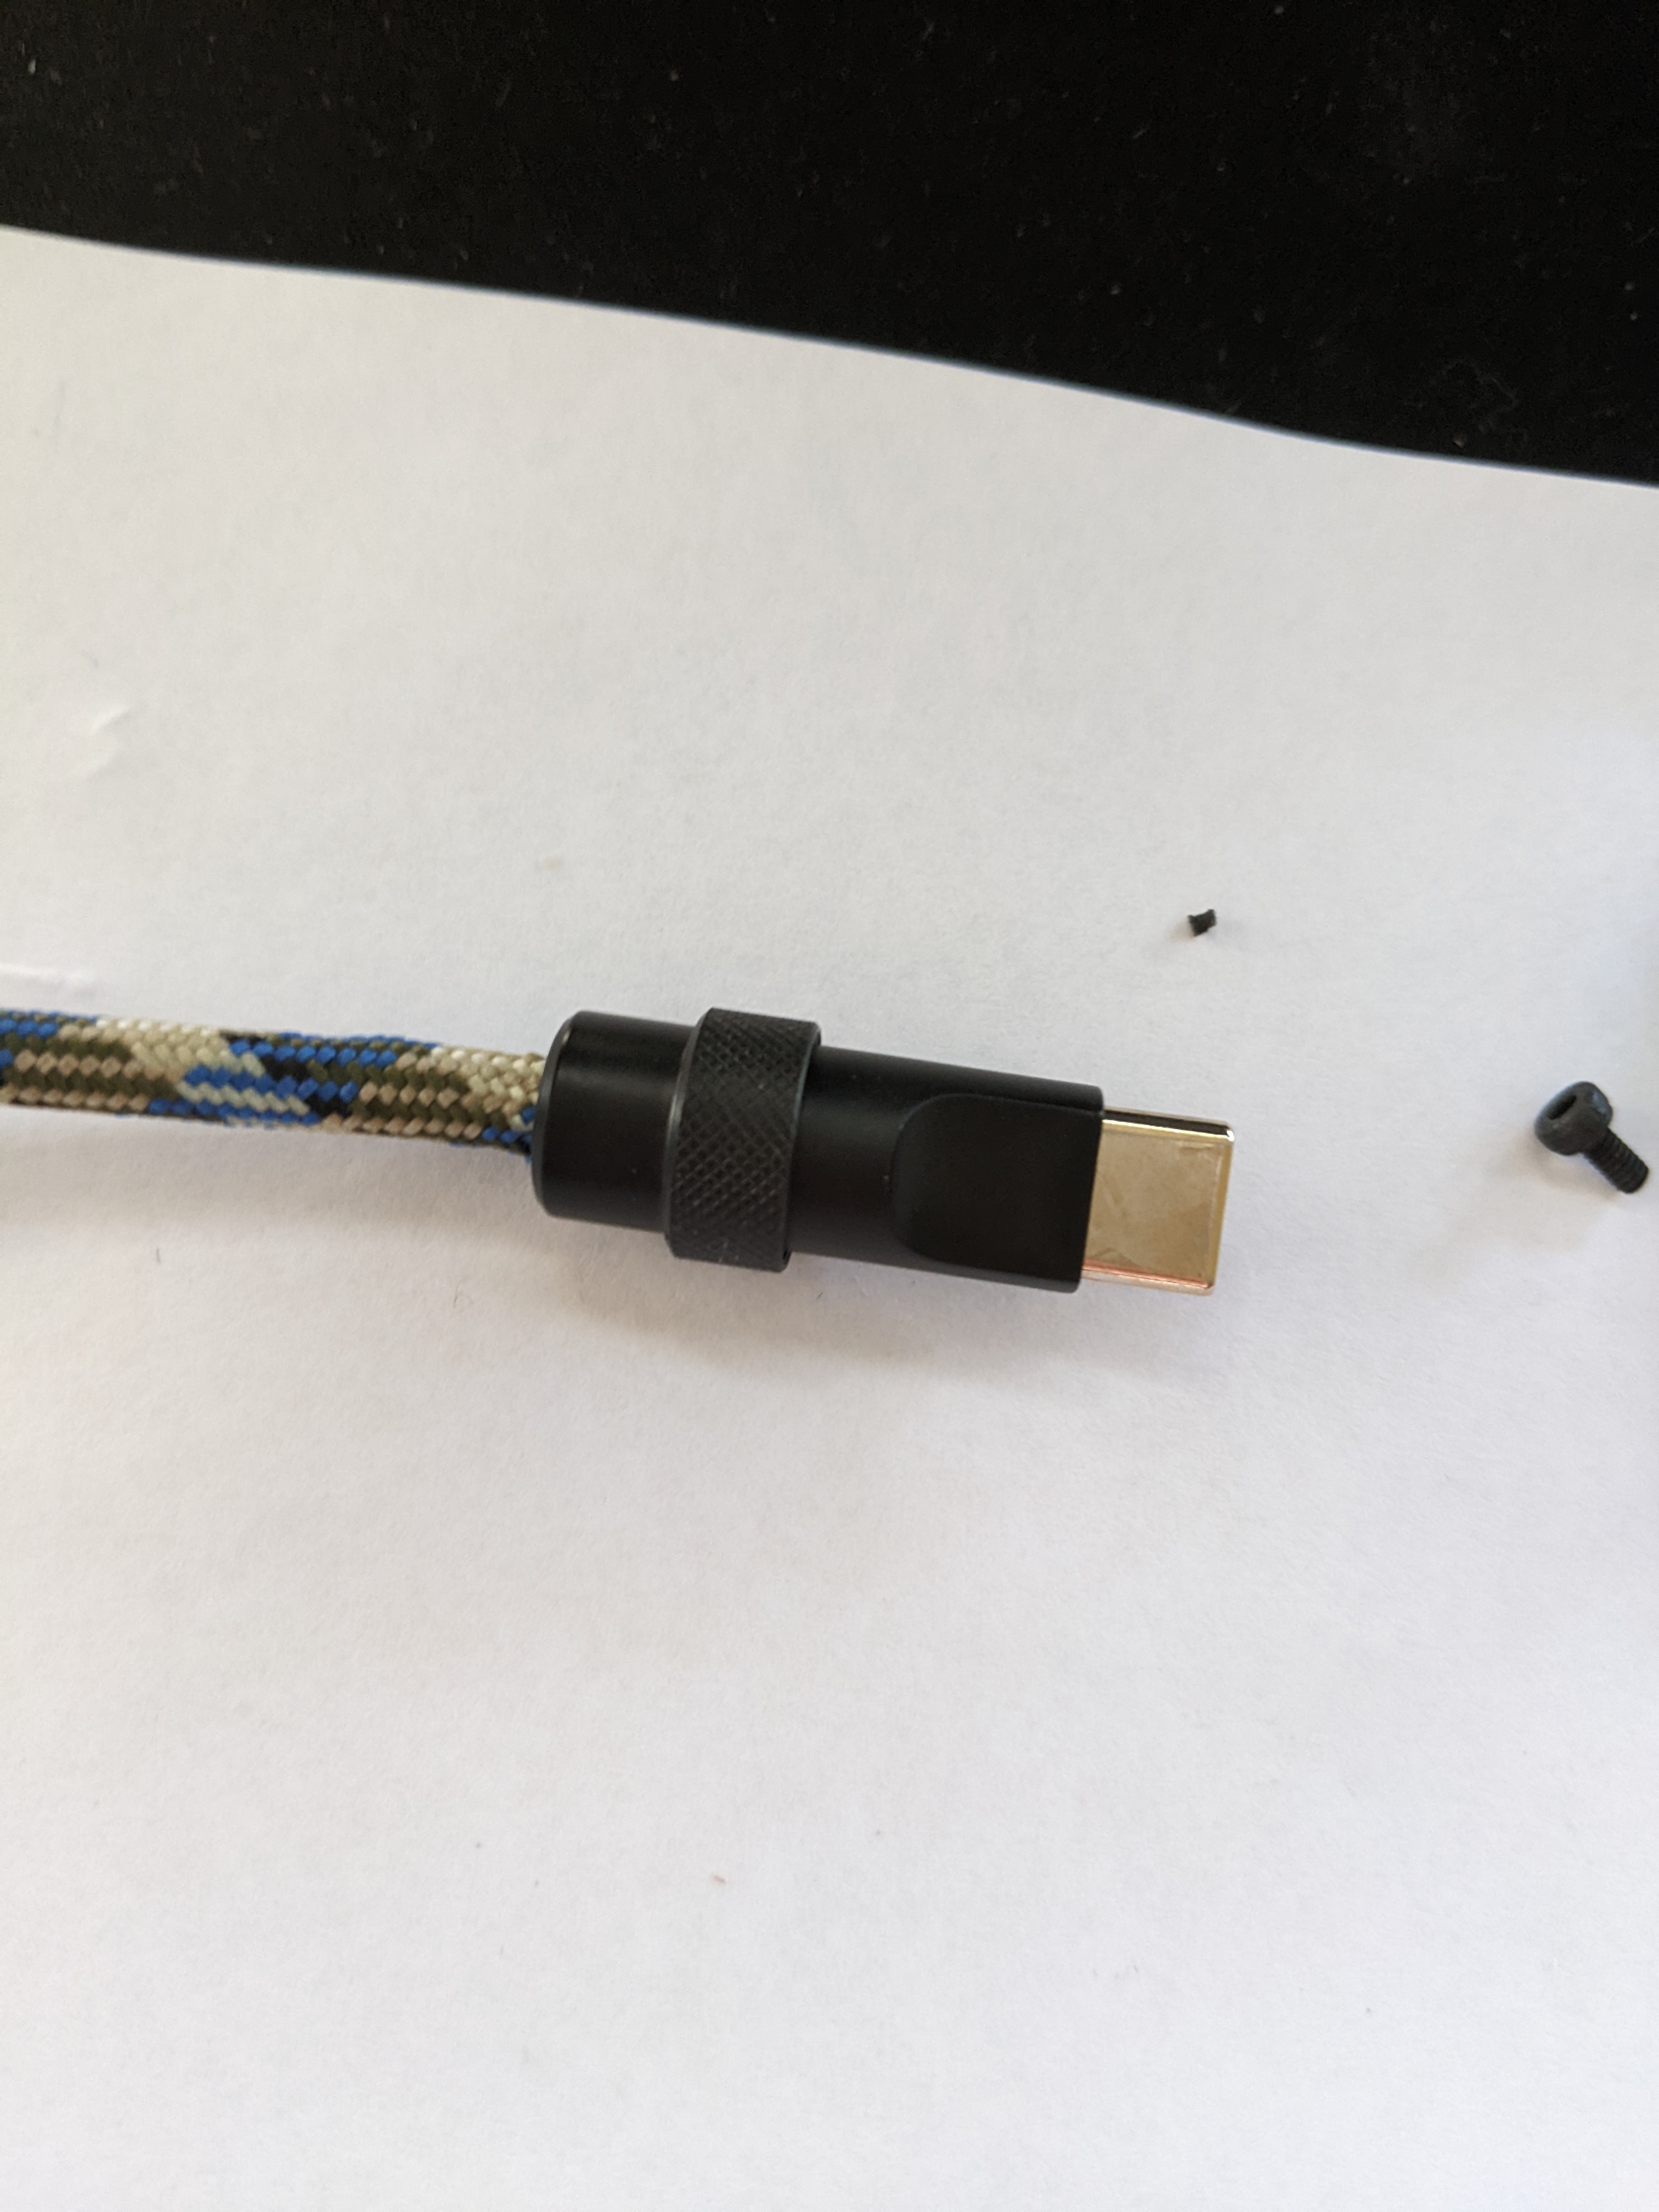
  • USBC connector with black metal shell
  • USB cable, black rubber sleeved
  • Heatshrink (already had)

Sliding the cable through the paracord was surprisingly easy.

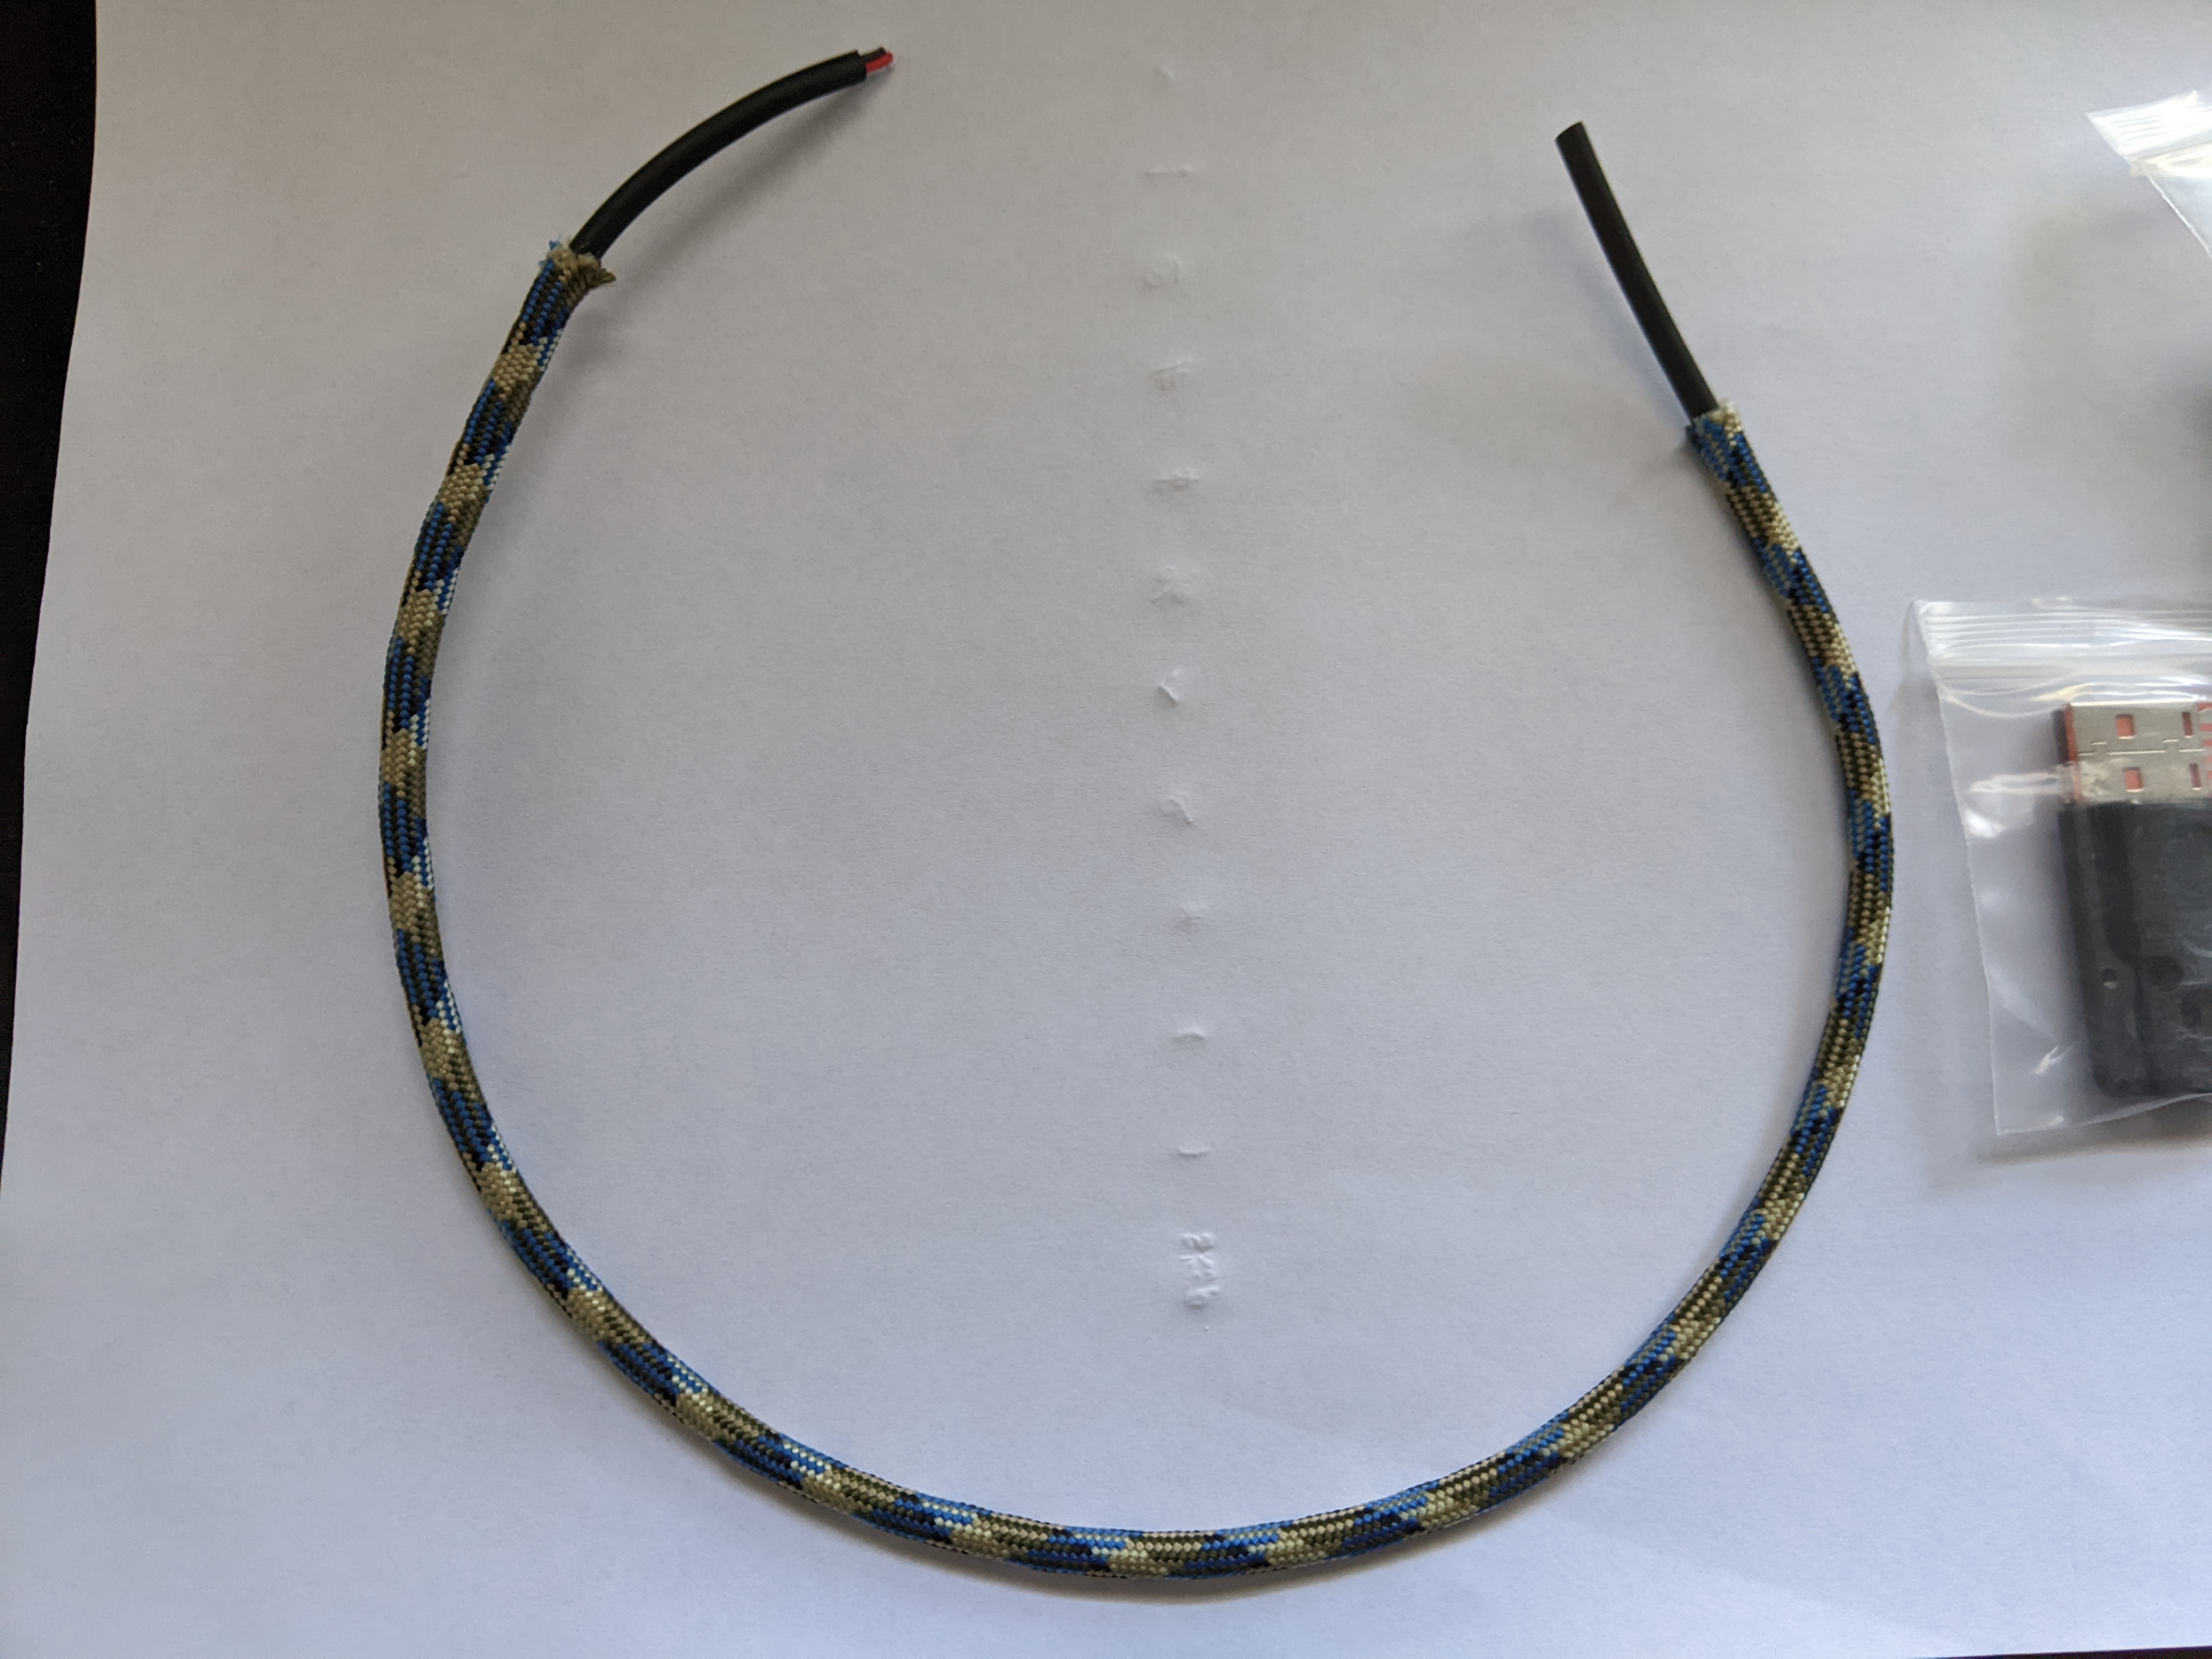
I don't have a wire stripper but it's not difficult to strip a wire with some wire snips (foreshadowing).

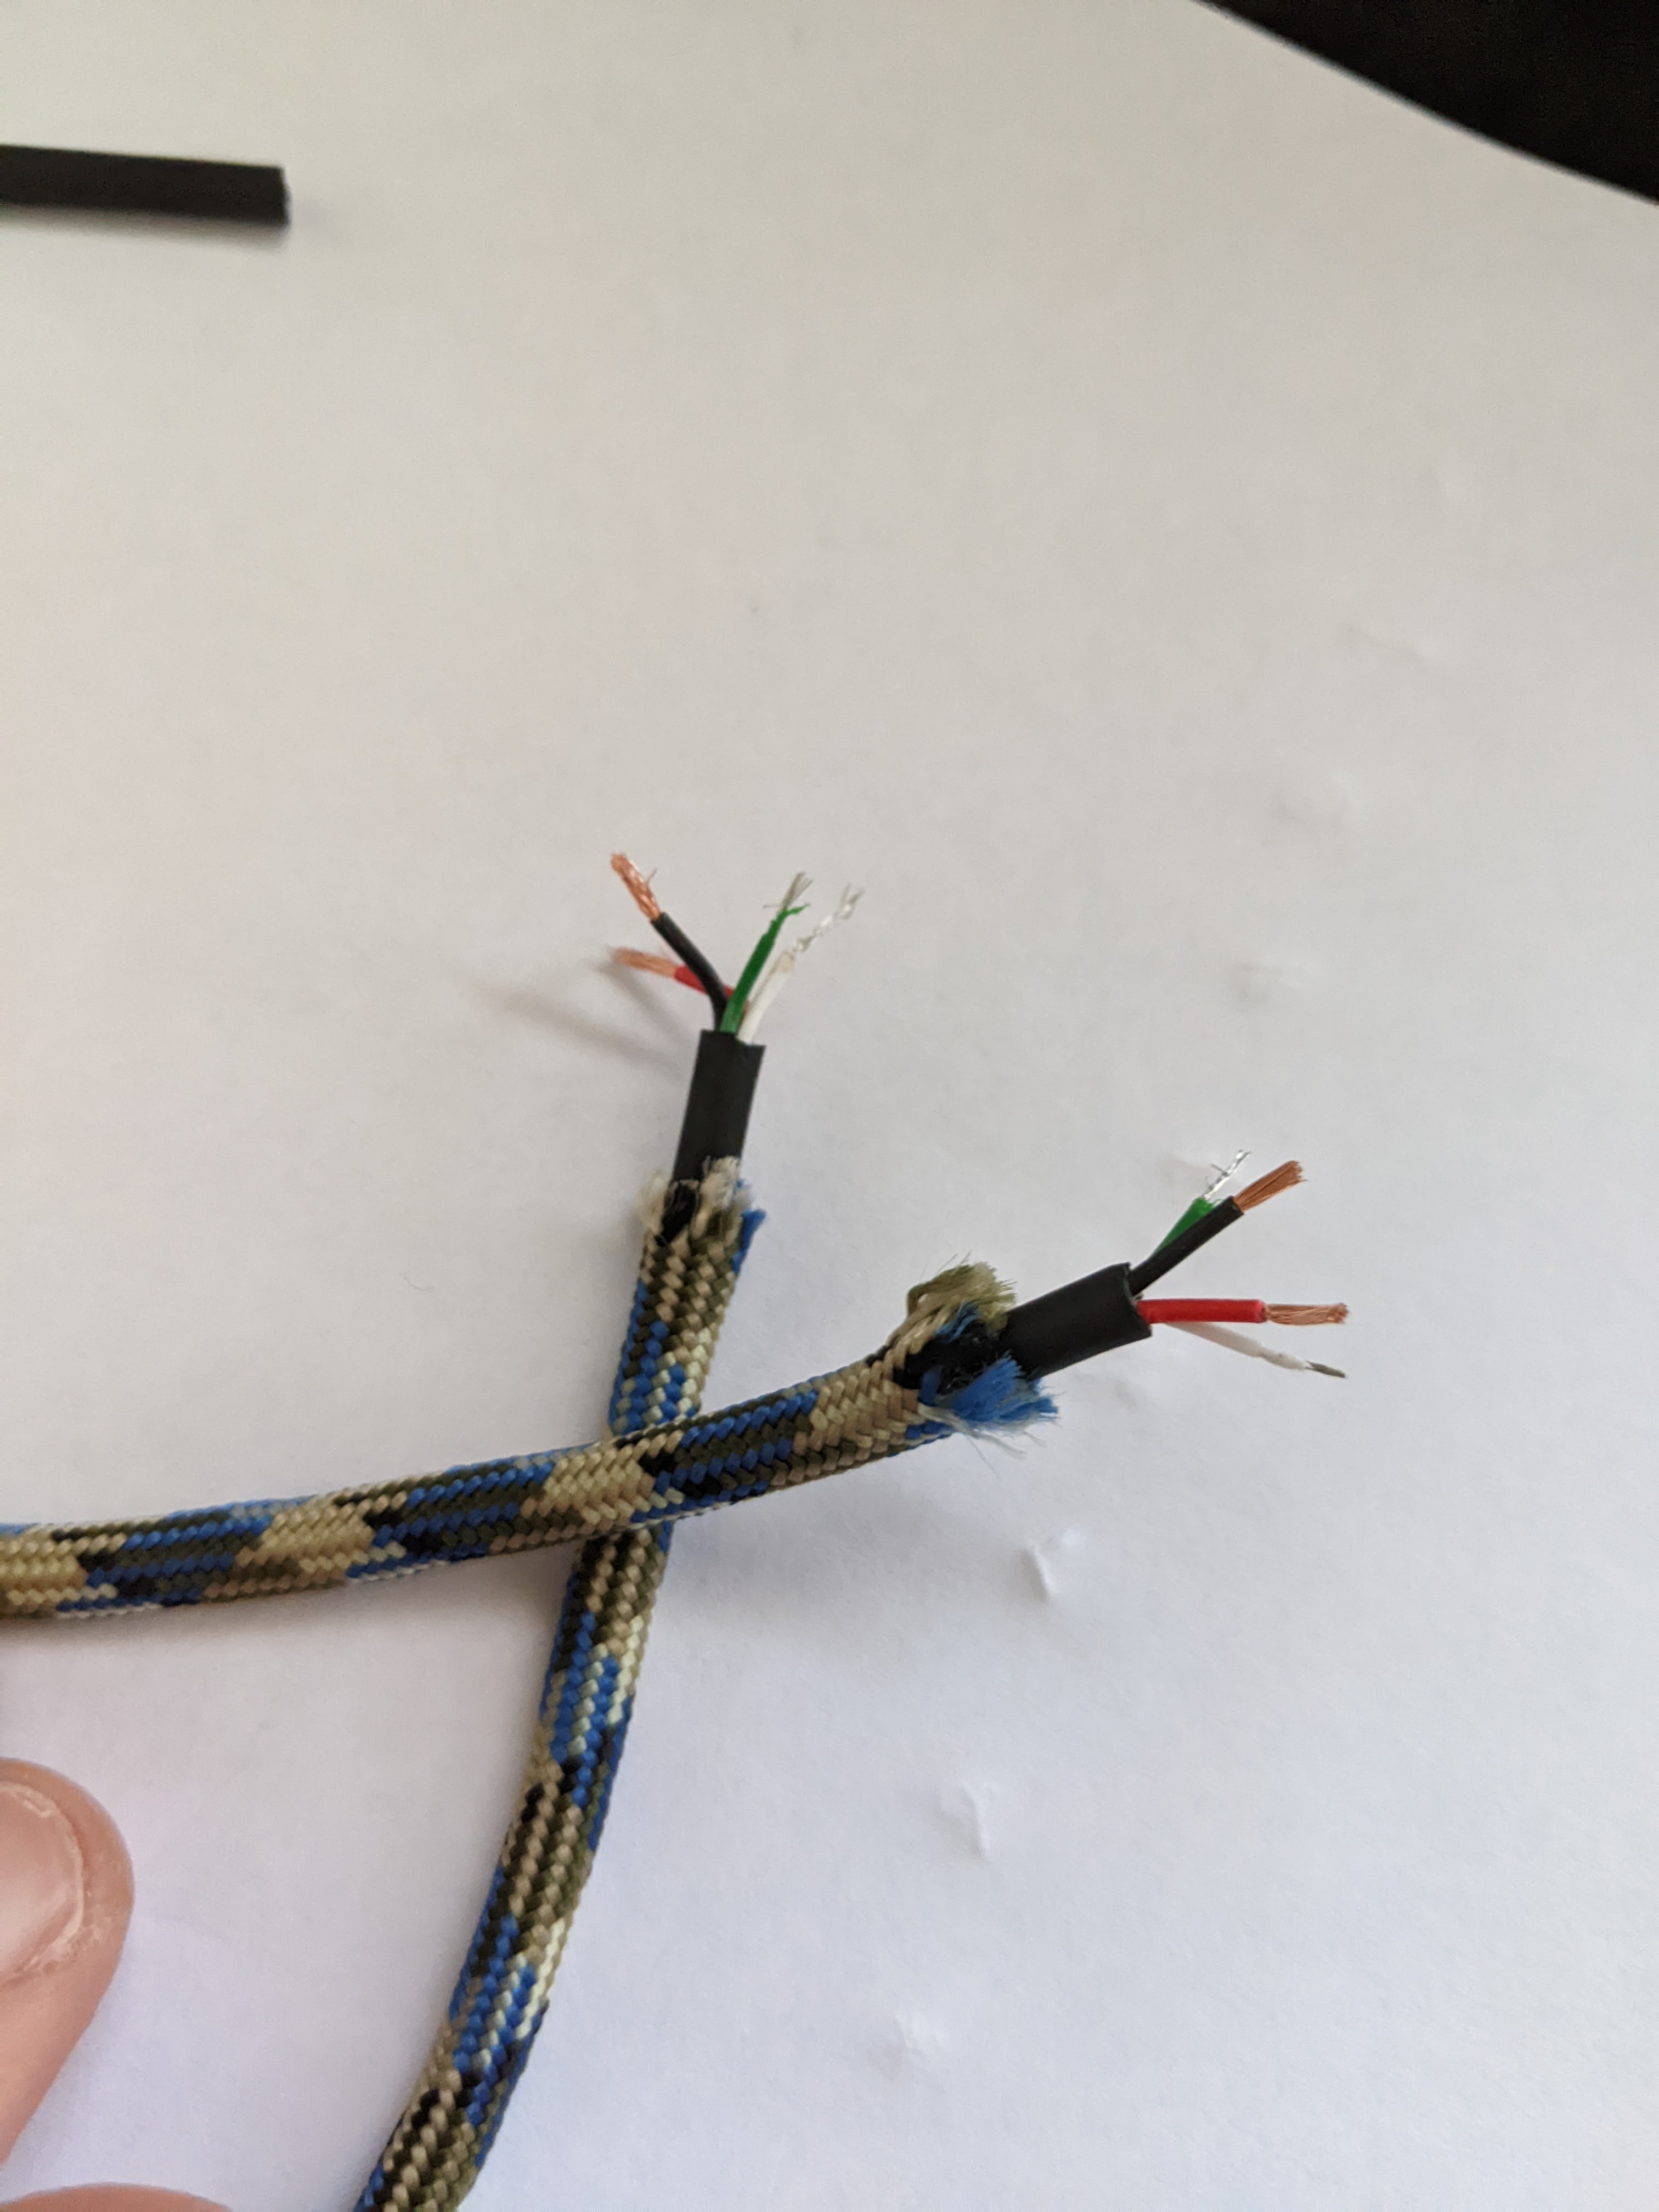
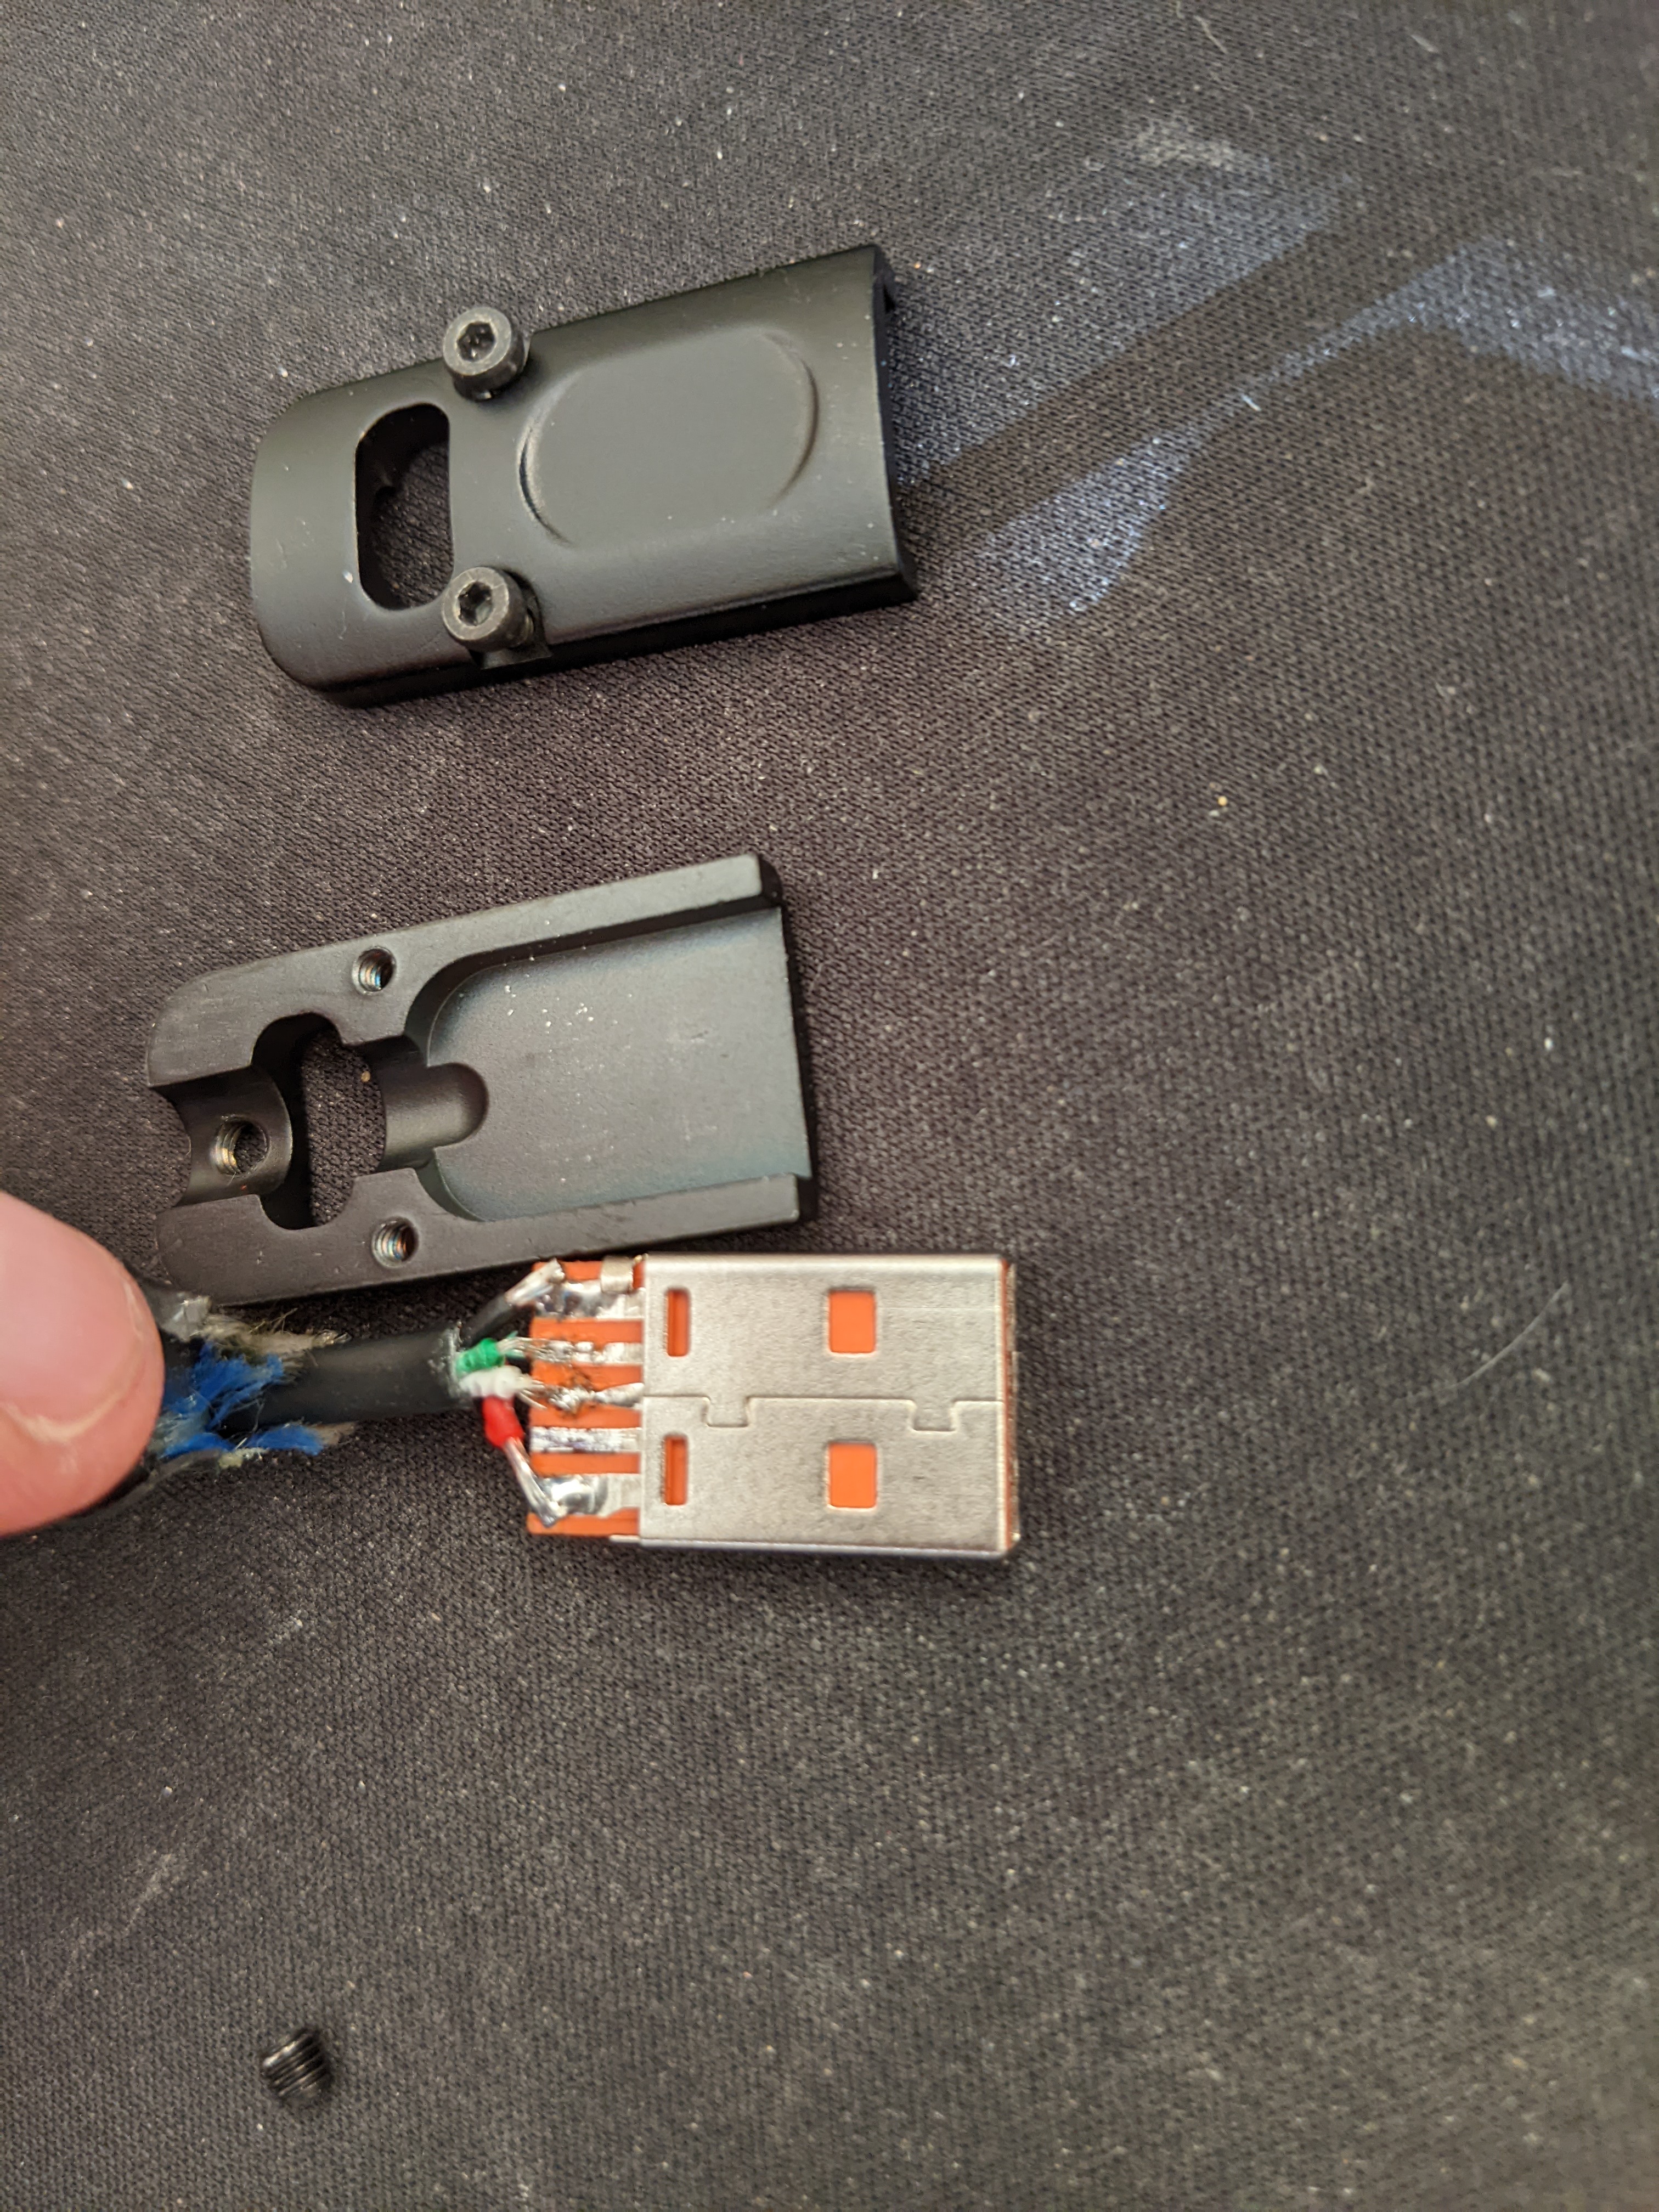
Things were going really smoothly so far, so time for hubris to kick in. Soldering onto the connectors was a bit of a nightmare. I had to desolder and recut the cable a few times, occasionally my method of desleeving caused me to cut through the wire which meant the other 3 had to be cut down to match the length as well. I burnt my hand on the soldering iron, I guess that is the blood sacrifice that it demanded for my mistakes...

I was kind of annoyed at this point and didn't think to take a photo of the soldering process. But I captured the end result.

Now with this particular USB A connector, there are 5 pins. Apparently for micro USB compatibility. So I sounded it out with a multimeter to make sure I had the right pins and confirmed with a diagram online. I had finished assembling the cable at this point and plugged it in but it was not working... Apparently the probe slipped a little while I was checking pins AND apparently the diagram online was incorrect. So the white D- wire had to be moved over one pin. This required disassembly to fix. Luckily, it did not break anything when I plugged it in - had it been VCC in the wrong spot it might have done some damage!

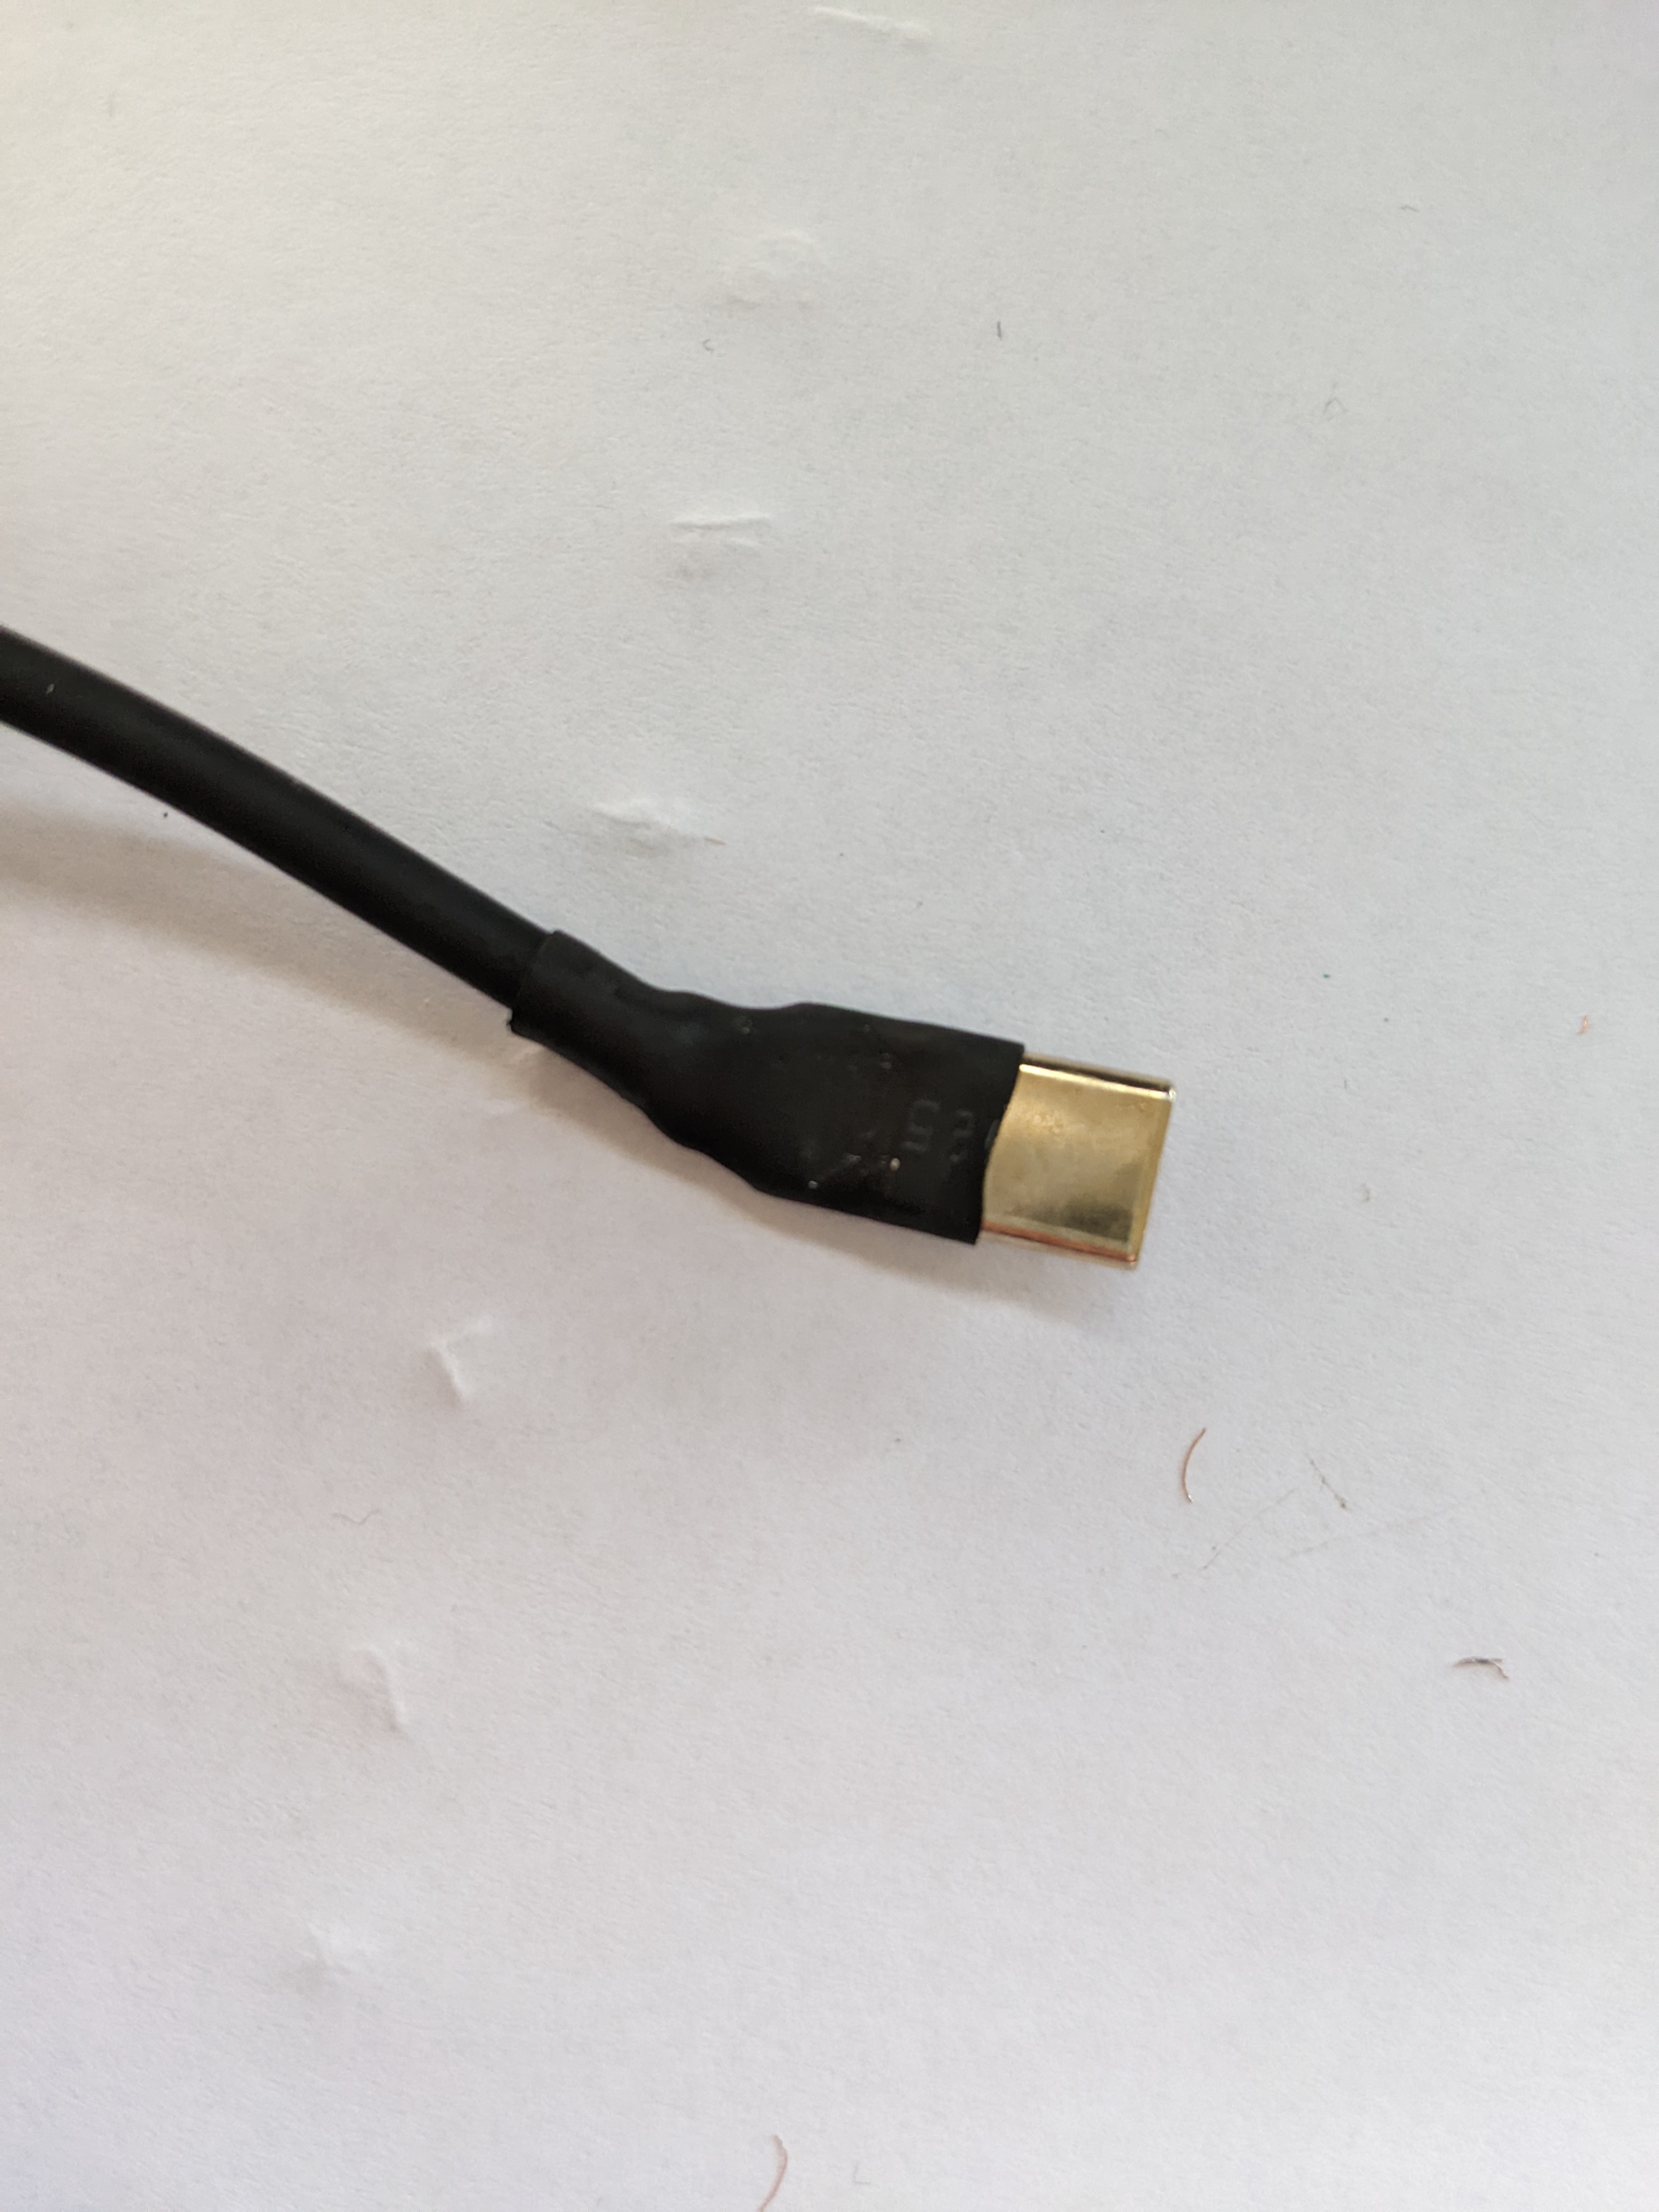
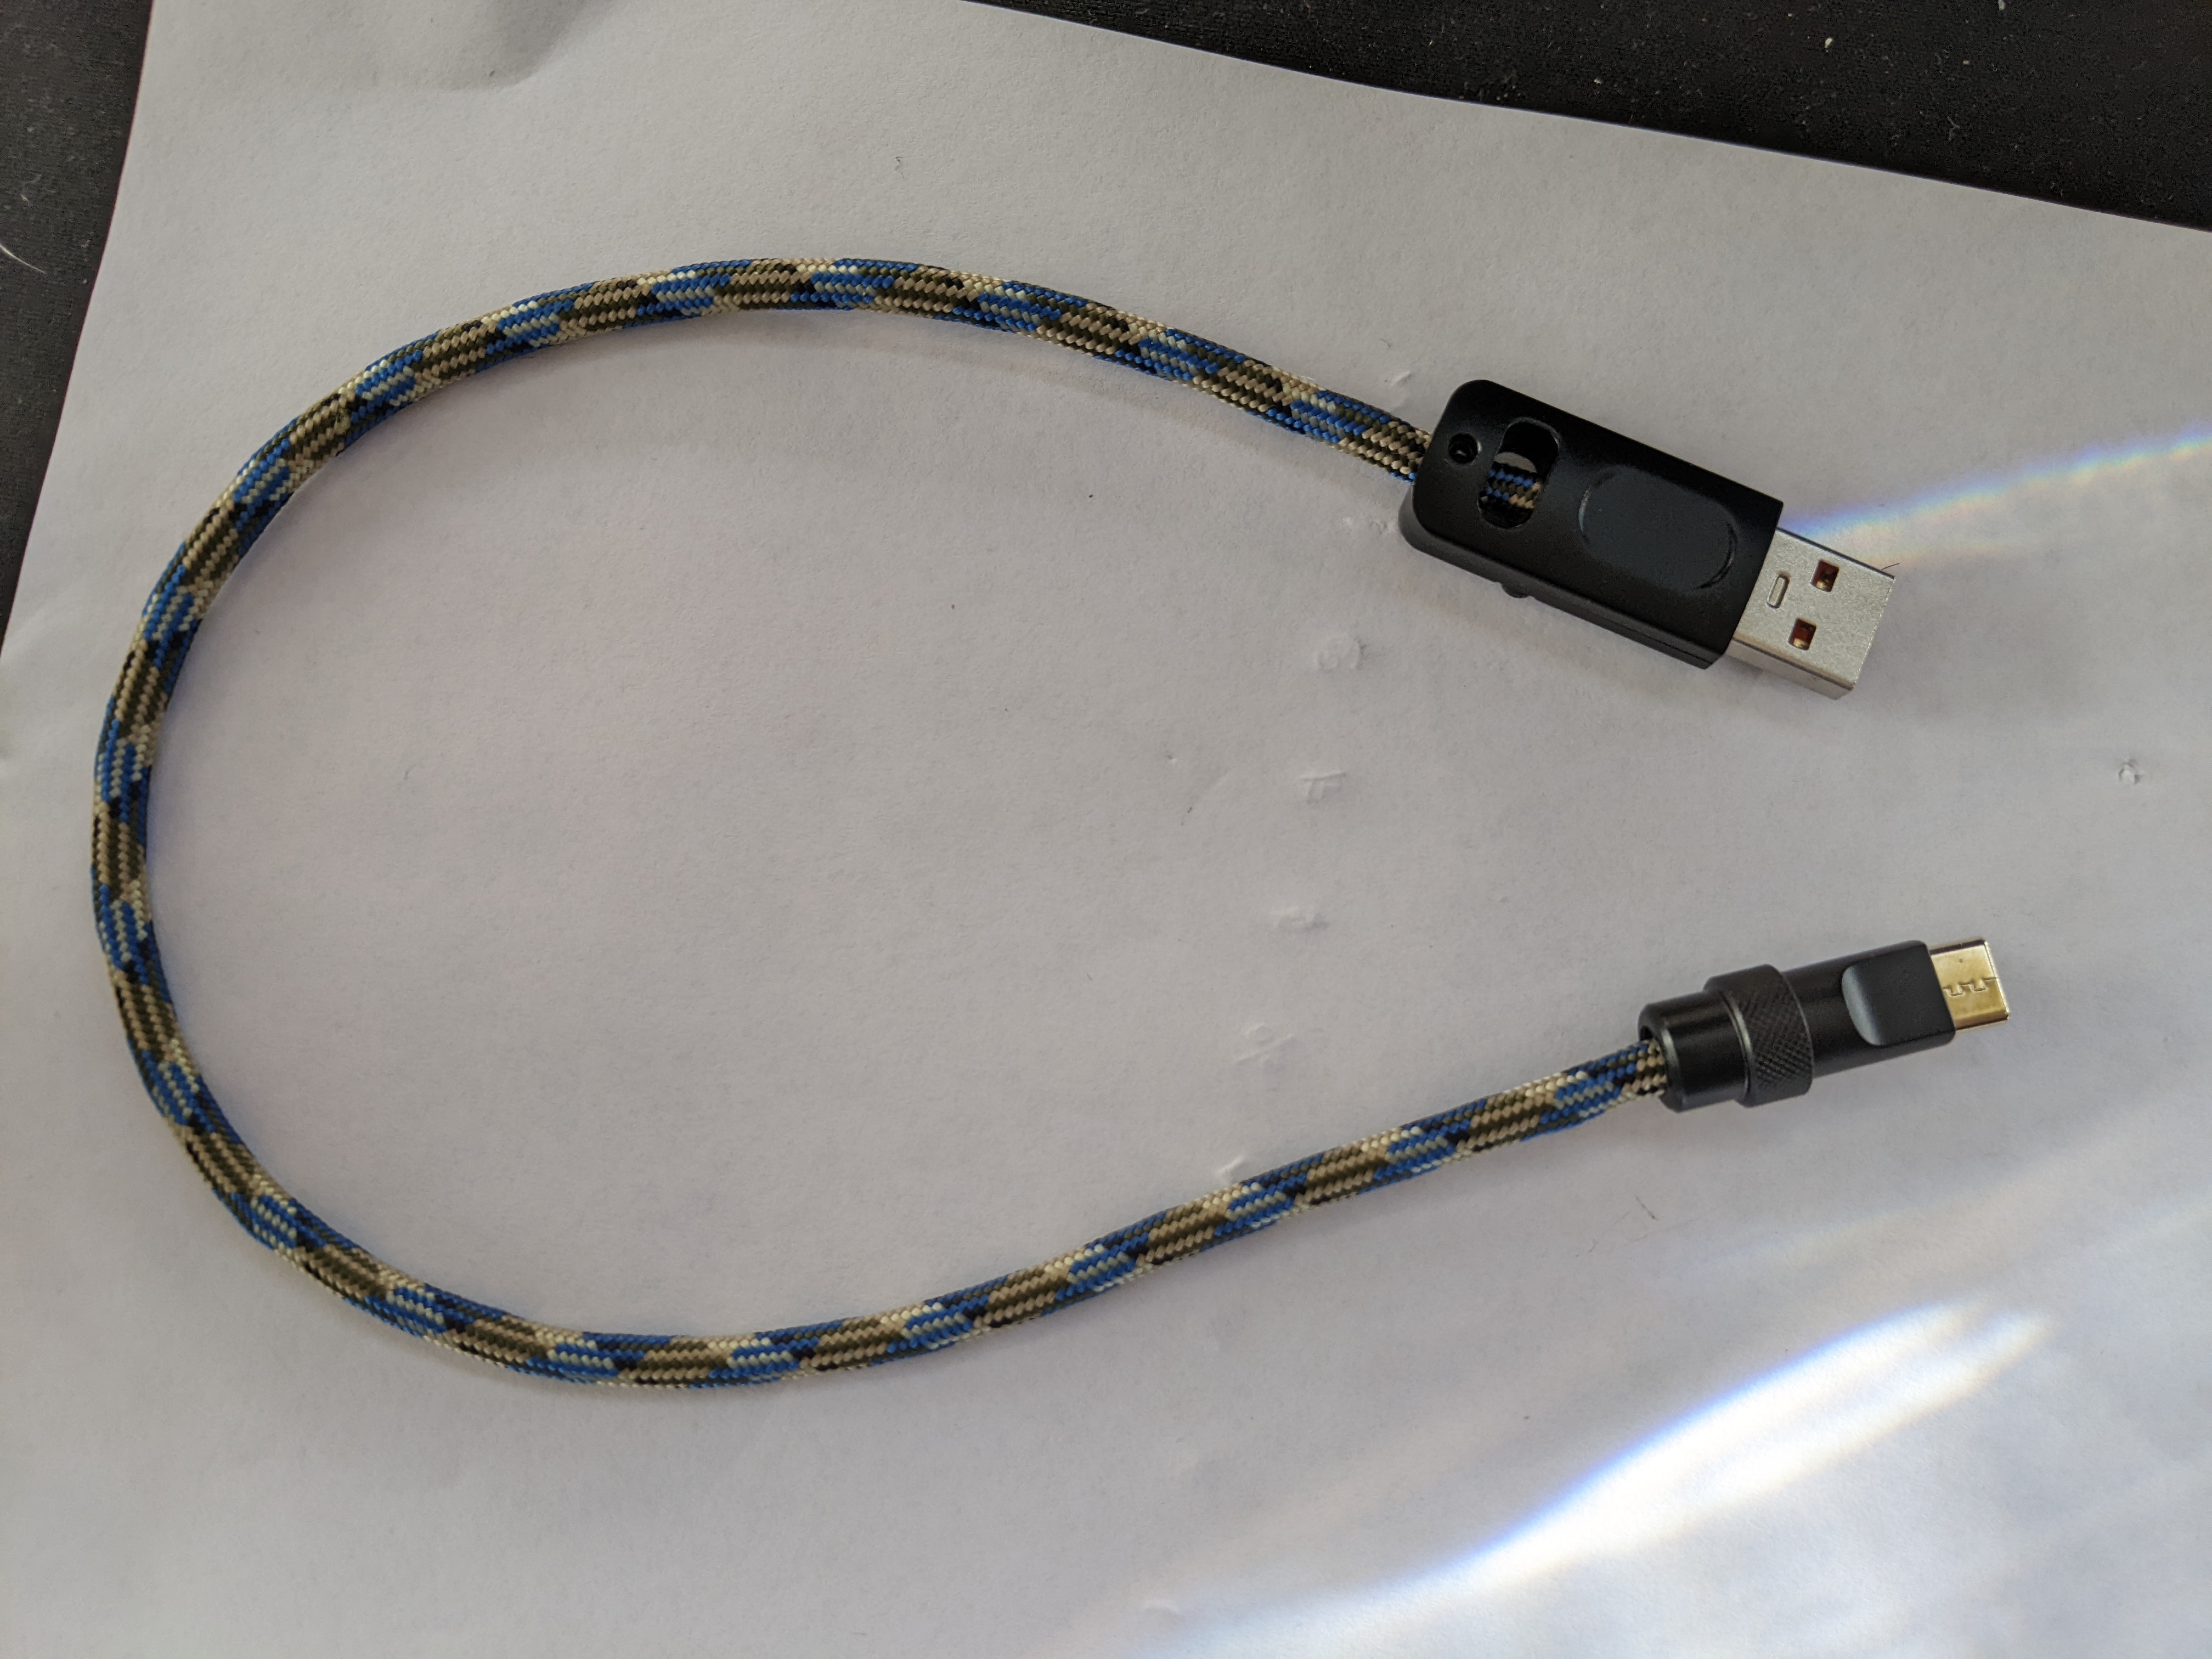
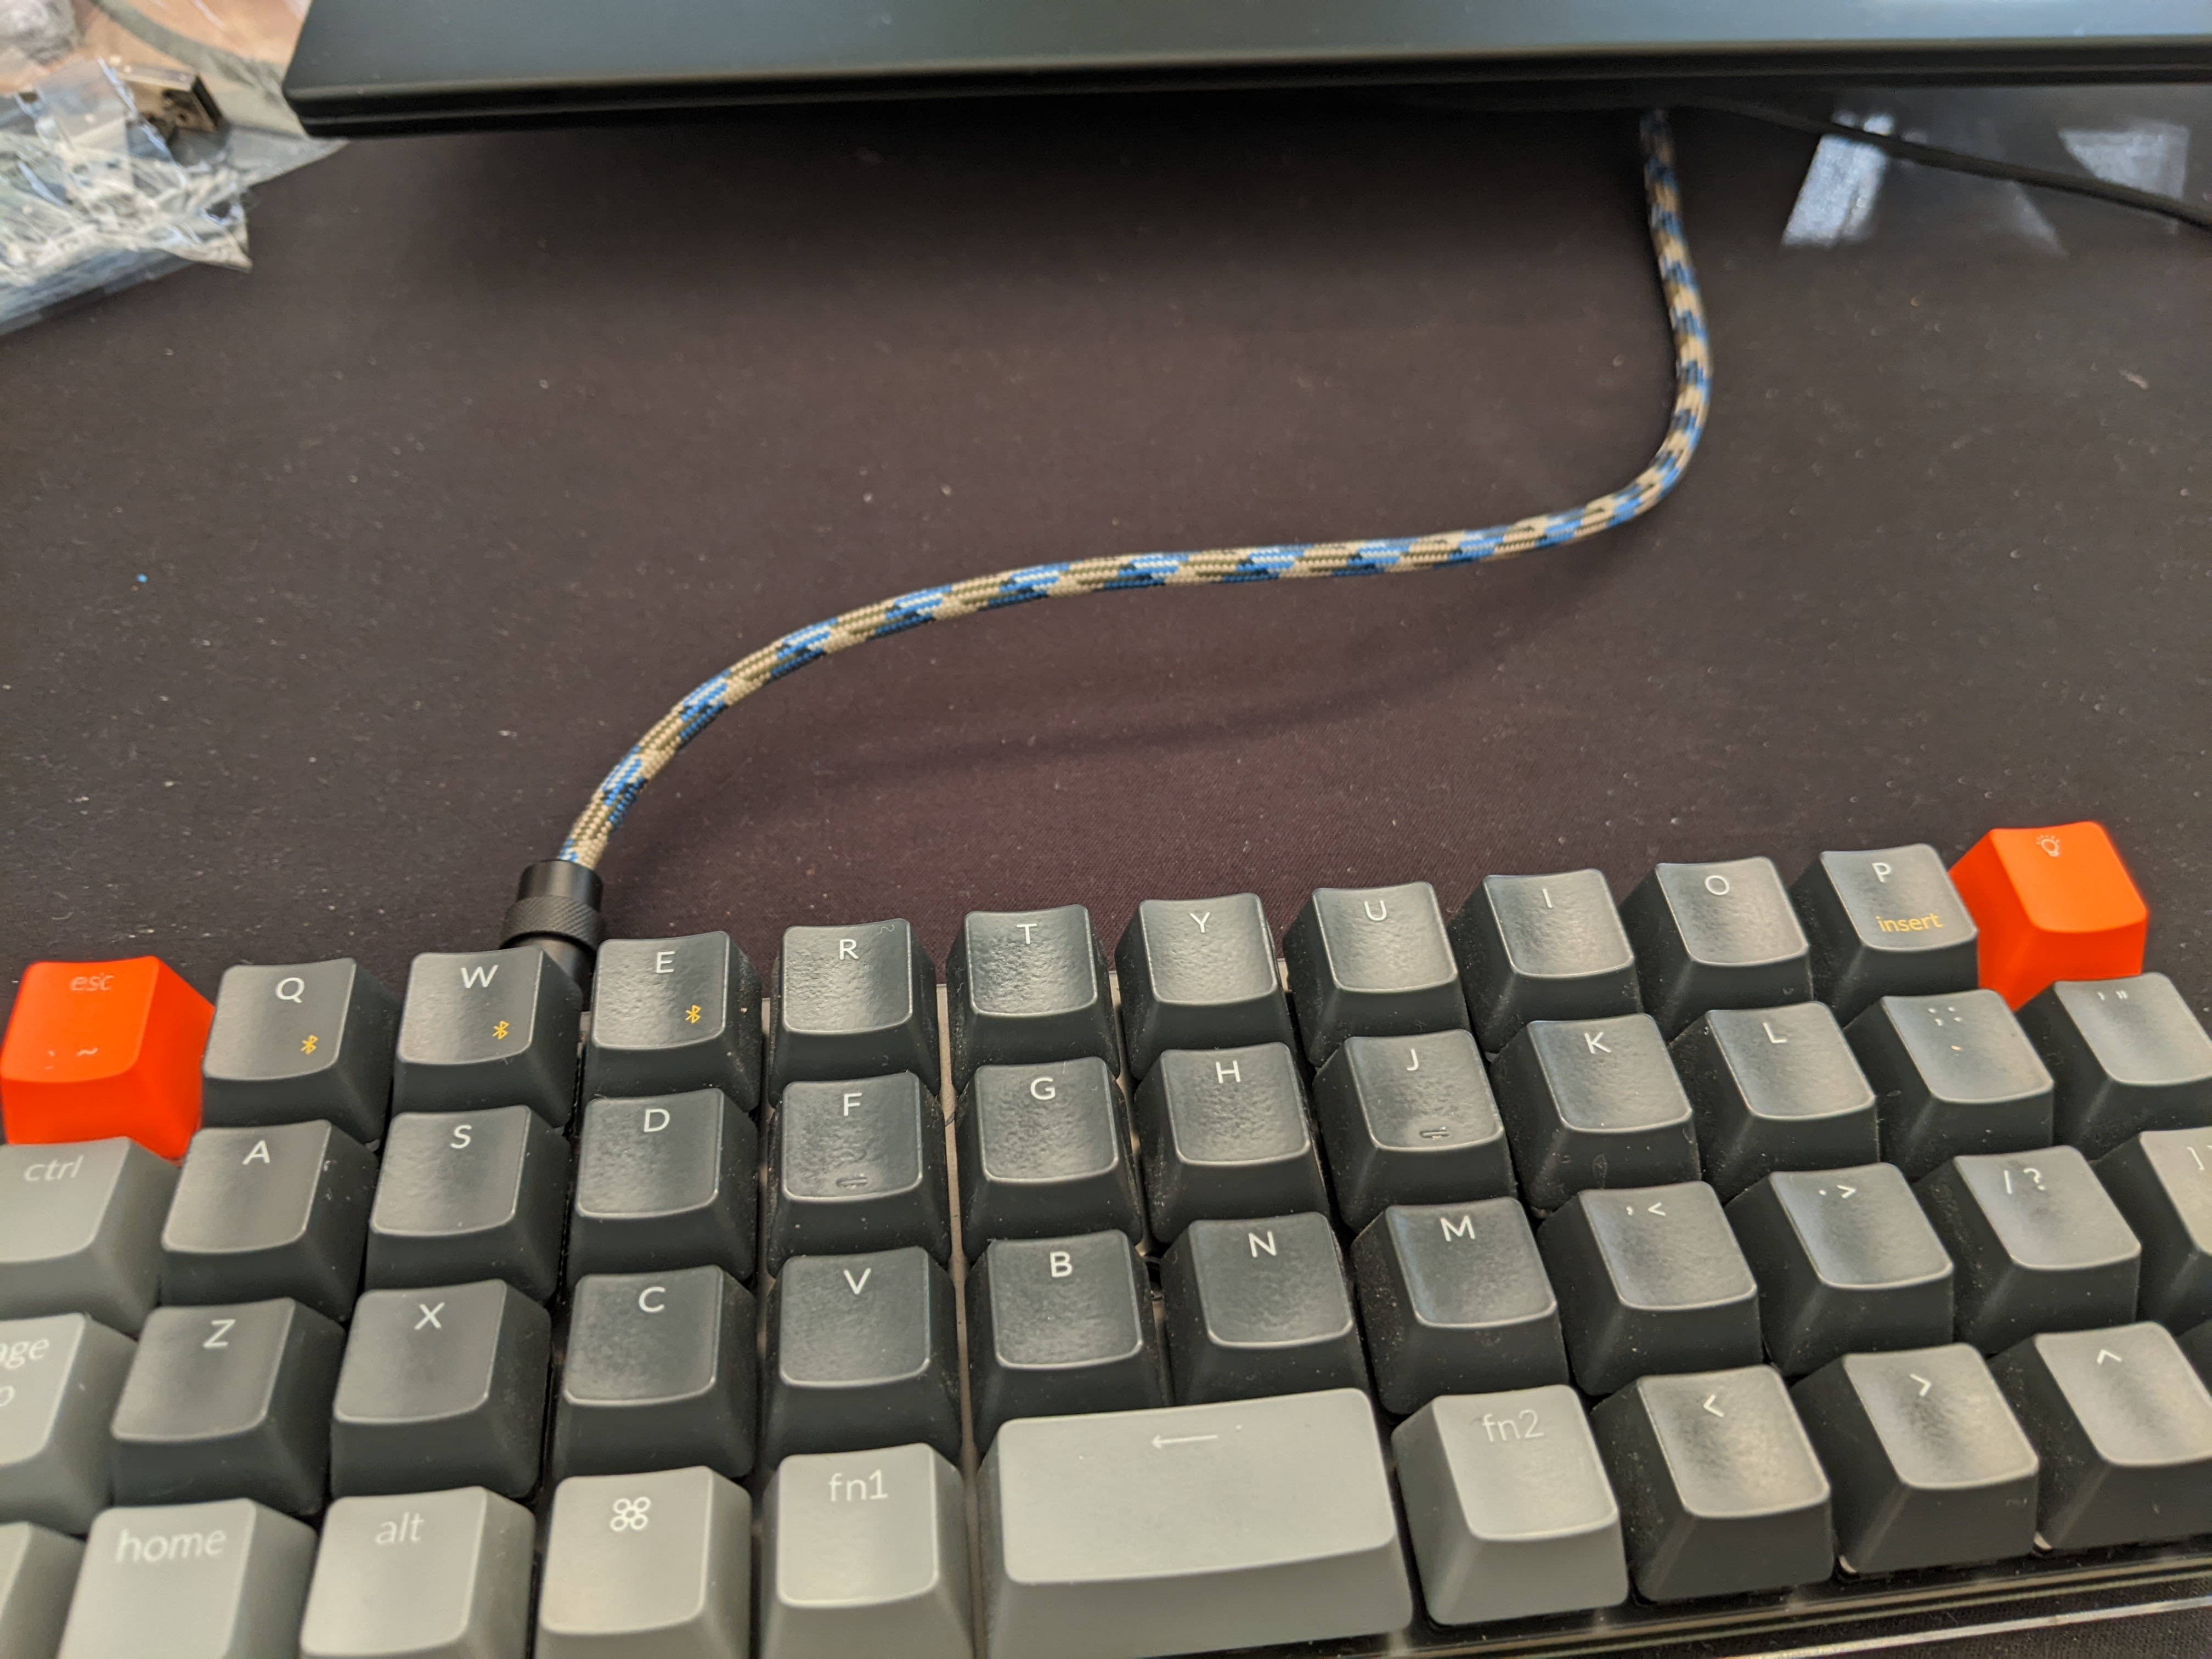
Finally it was done and working and I'm happy with it. Fingers crossed my dodgy soldering does not short ๐Ÿ™

I have plenty of parts left over so I plan on making more but next time I will get a wire stripping tool...

[โ€“] AmazingMenzif@aussie.zone 1 points 1 year ago (1 children)

You might have seen this image (or similar):

Profiles

The normal keyboard should have a flat PCB and the variation in height entirely based on the cap profile. Some profiles will have interchangeable keys, e.g. XDA you can swap the keys to any row except the first row while OEM you can't really swap keys between rows or they'll stick out.

As far as I know, you can use any profile on any board (provided the keycaps are compatible with the switch stems).

Hopefully that helps answer your question.

Very nice. Looking forward to the next pics

Looks great, especially the orange keys. Where did you get the caps?


Bought and built the kit from keebd.com

  • Cherry brown switches
  • Helios rp2040 controller
  • Temporarily using caps from my Keychton K6 (unfortunately the profile makes it a little weird looking) while waiting for new ones to arrive.

view more: next โ€บ